Firebase Cloud Messaging, formerly known as Google Cloud Messaging, is a cross-platform cloud service for messages and notifications for Android, iOS, and web applications.
The user will get notification related with booking, claim listing, payment & submit listing.
The setting requires 2 steps
- App Settings
- Backend Settings
App Settings
iOS Settings
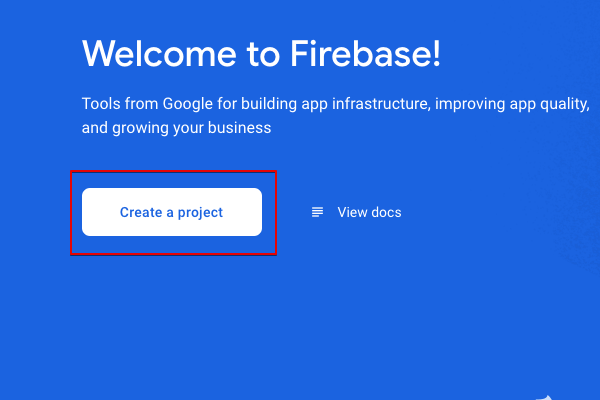
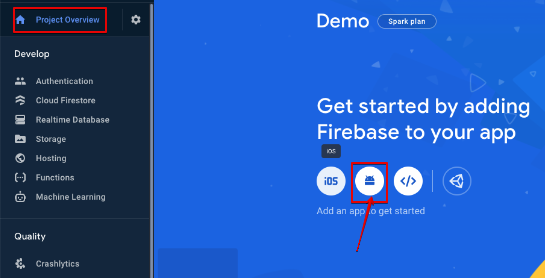
Go to the URL https://console.firebase.google.com. Select → Create a project
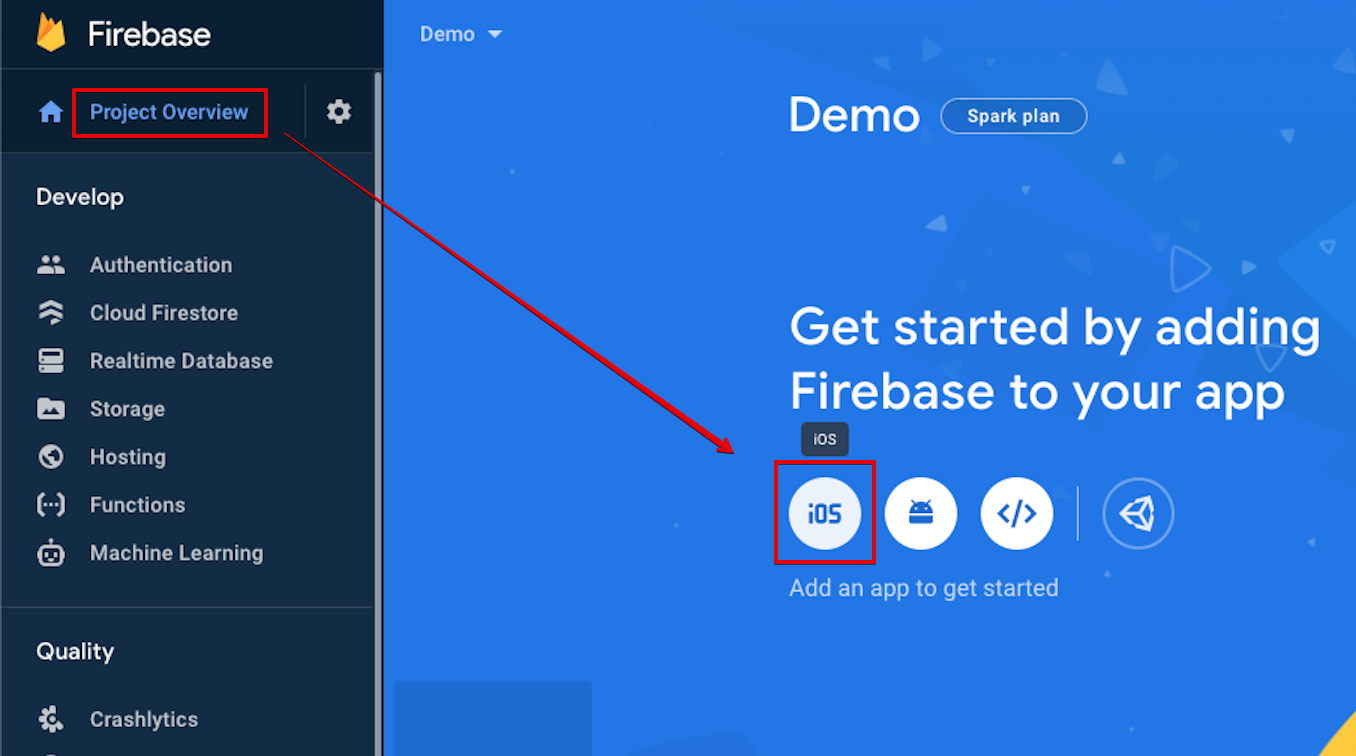
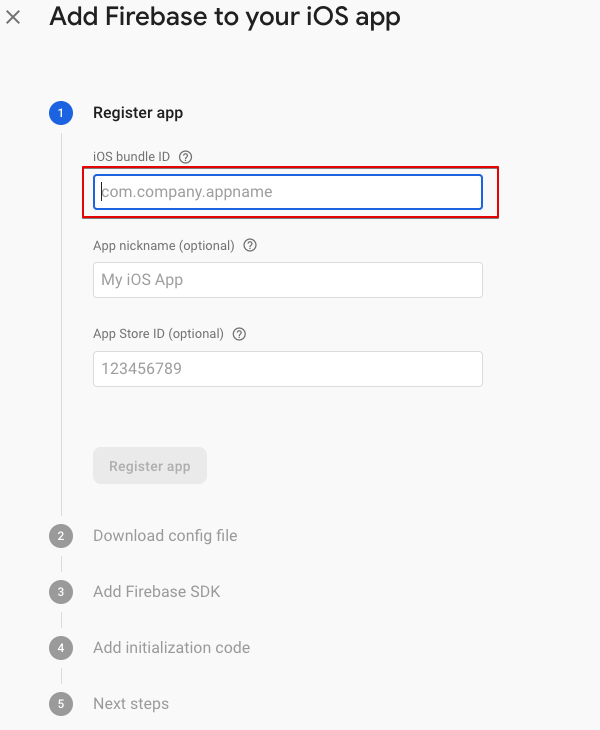
Project Overview → Select the iOS
- iOS bundle ID: bundle ID is taken from your application. Refer
./source/ios/Runner.xcodeproj/project.pbxproj→PRODUCT_BUNDLE_IDENTIFIER - App nickname: It is an optional value. This name will be used for presence in the Firebase console.
- App Store ID: It is an optional value. Skip if app is not yet registered
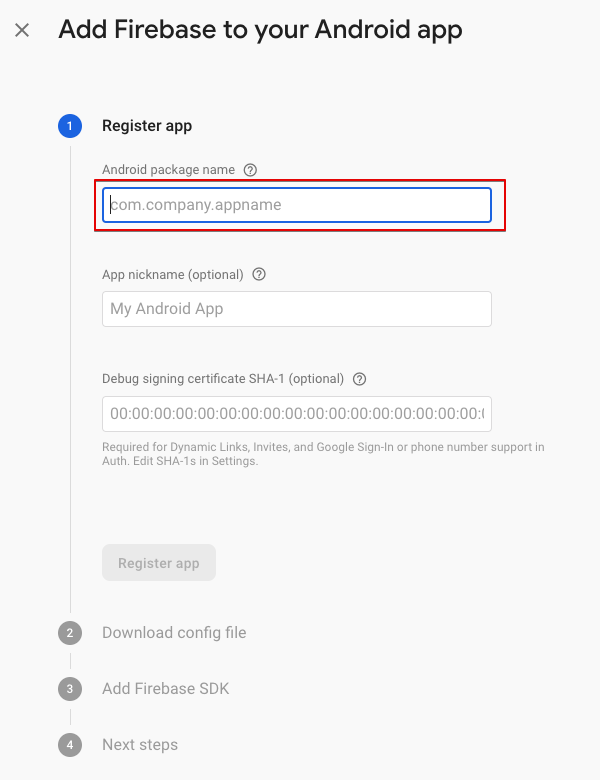
Confirm by the button → Register App
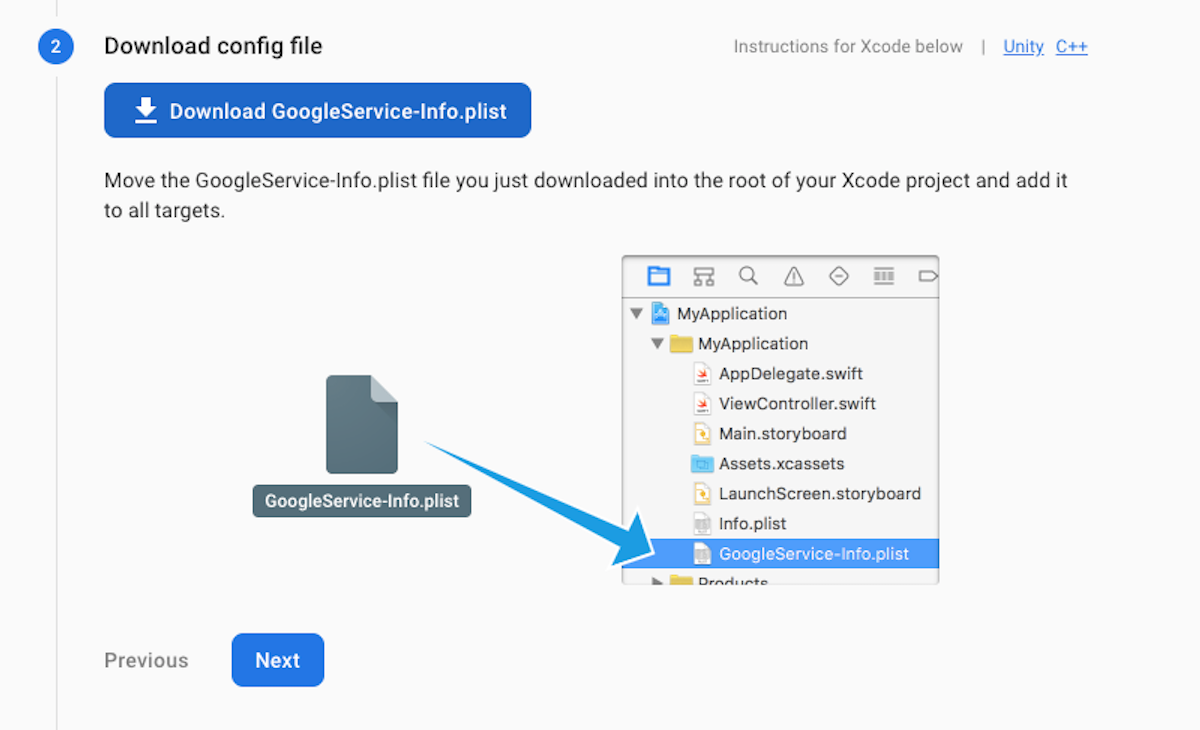
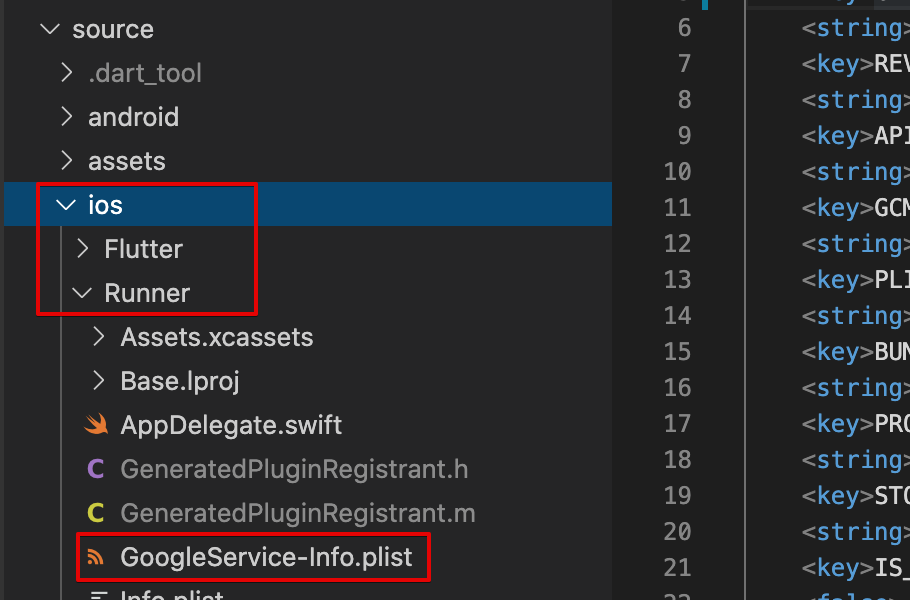
Click on the Download GoogleService-info.plist button to download the file then copy it to the ios directory of your project ./source/ios/Runner/GoogleService-info.plist .
If the GoogleService-info.plist file already exists, delete the old file and copy the new file.
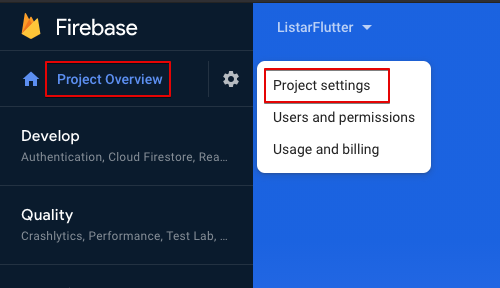
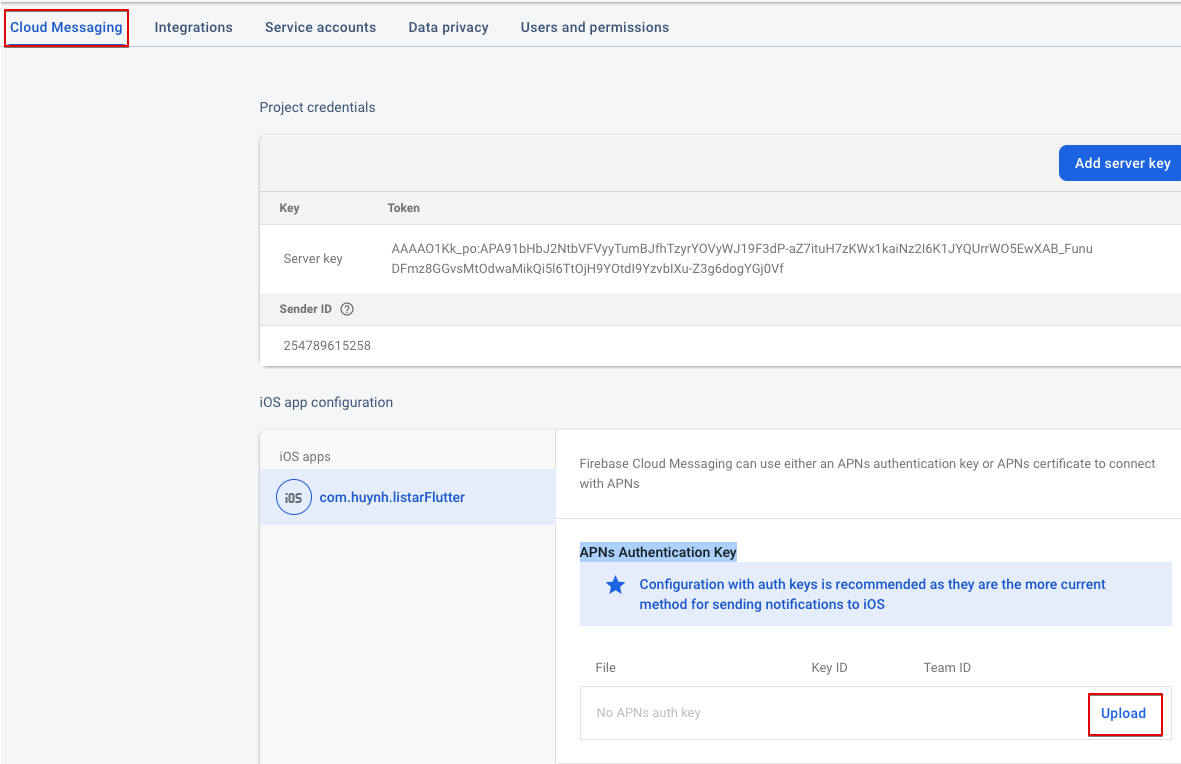
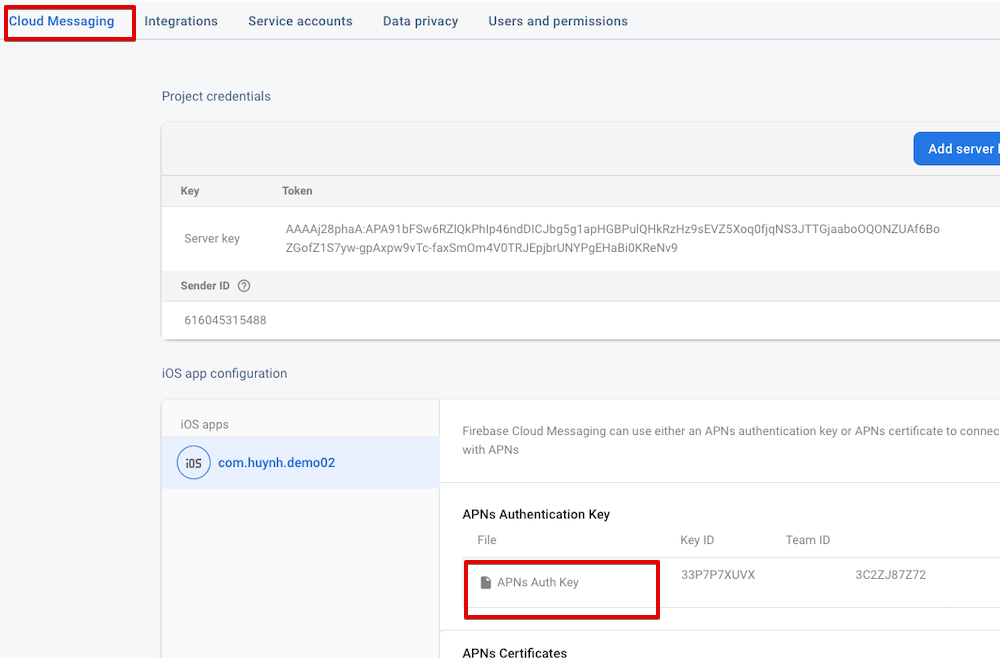
Navigate to your Firebase console to enable push notifications on iOS with Cloud Messaging.
Project Overview → Project Settings → Cloud Messaging tab
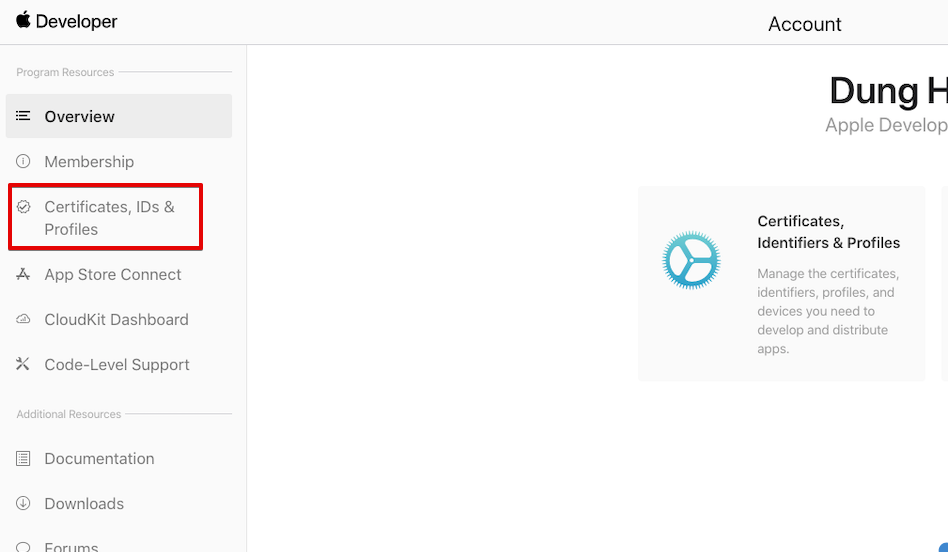
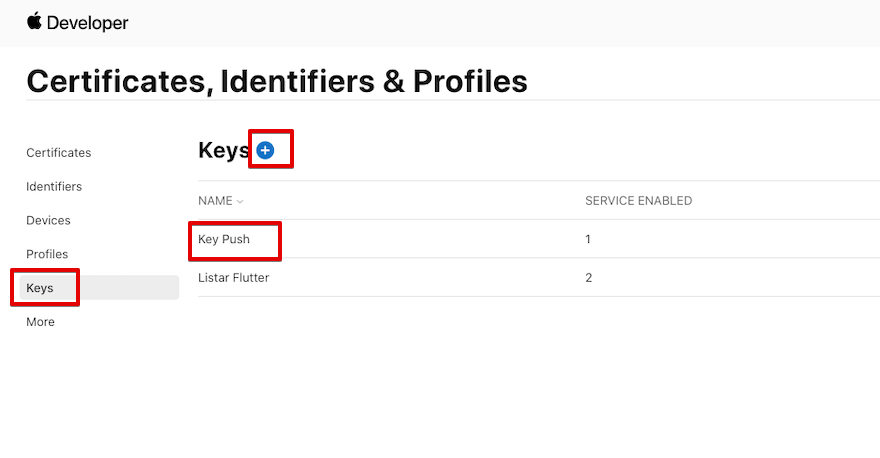
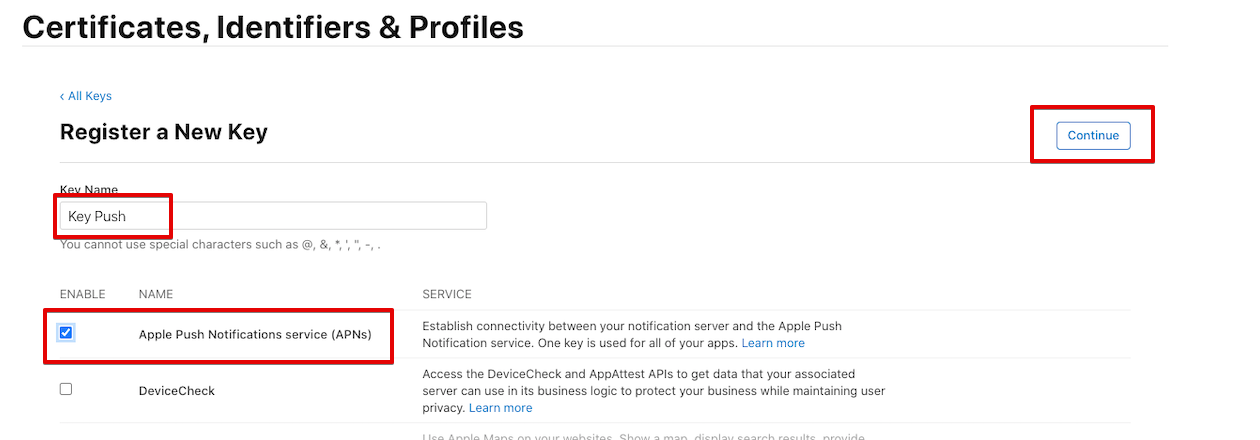
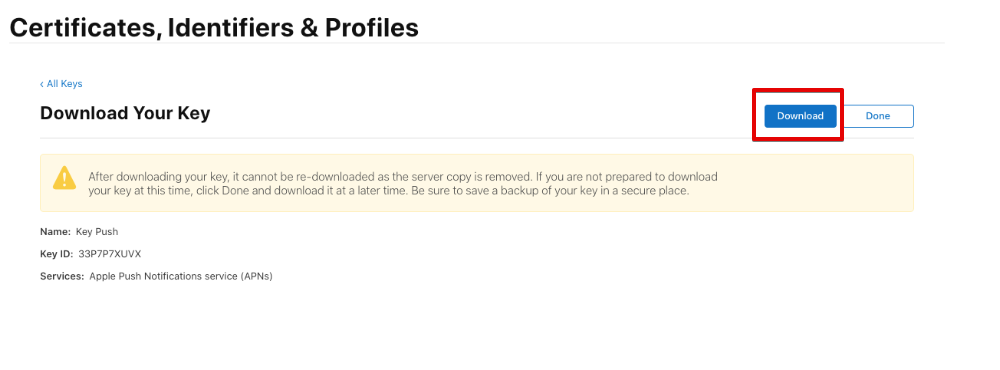
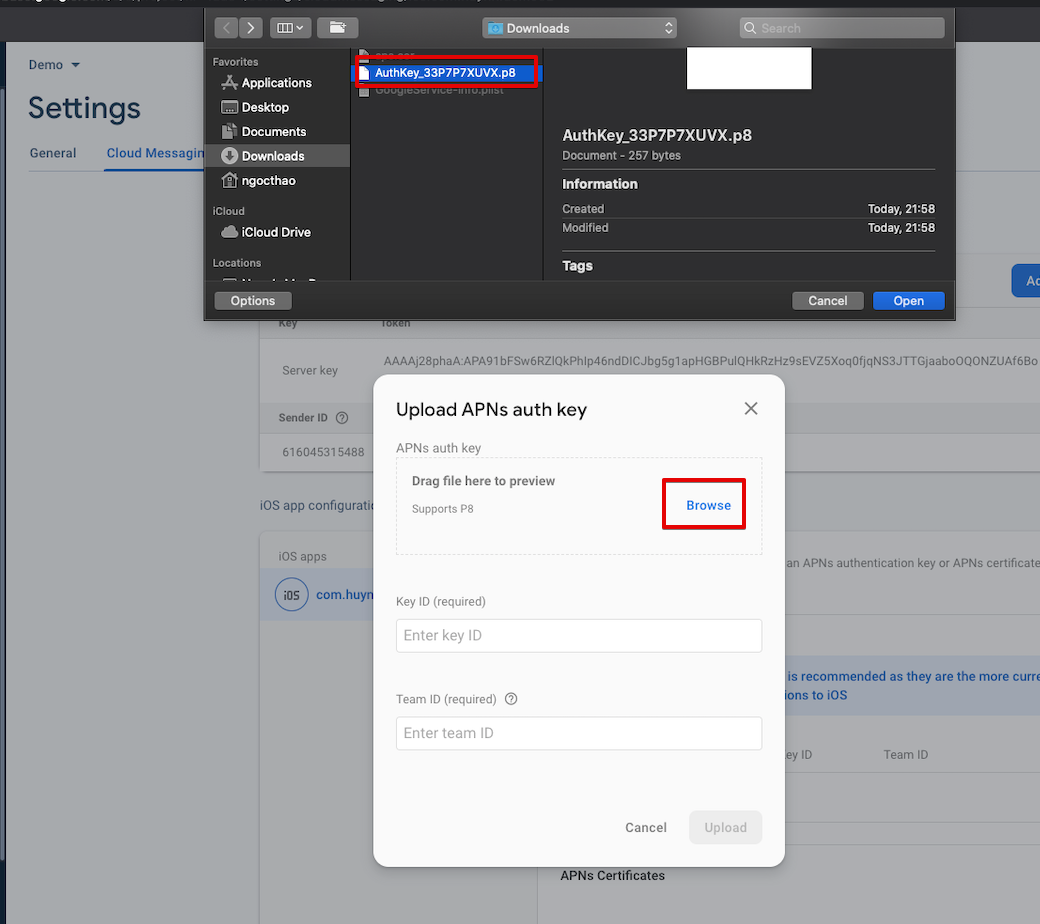
You must have an Apple developer account to set up the APN authentication Key. Visit page https://developer.apple.com and select your account

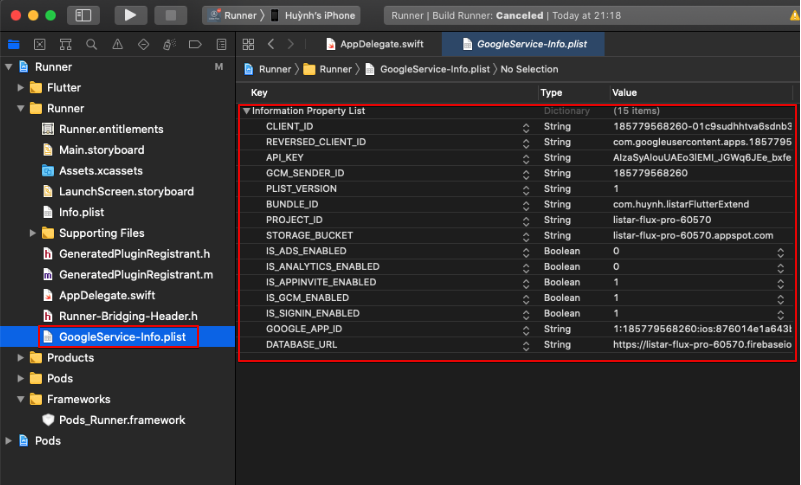
Install the push notification on the source code. Please use the Xcode application and open your source code ./source/ios/Runner.xcworkspace then will see the GoogleService-info.plist
Make sure the push notification has been enabled from your application. Please select Runner → Signing & Capabilities tab and make sure Background Modes options has been checked.
- Background fetch
- Remote notifications
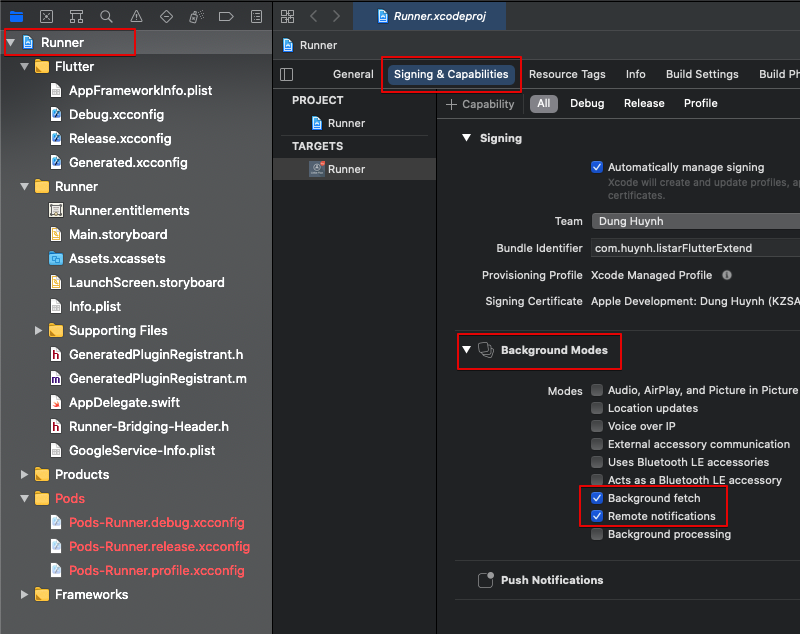
Add Capability → Push Notifications
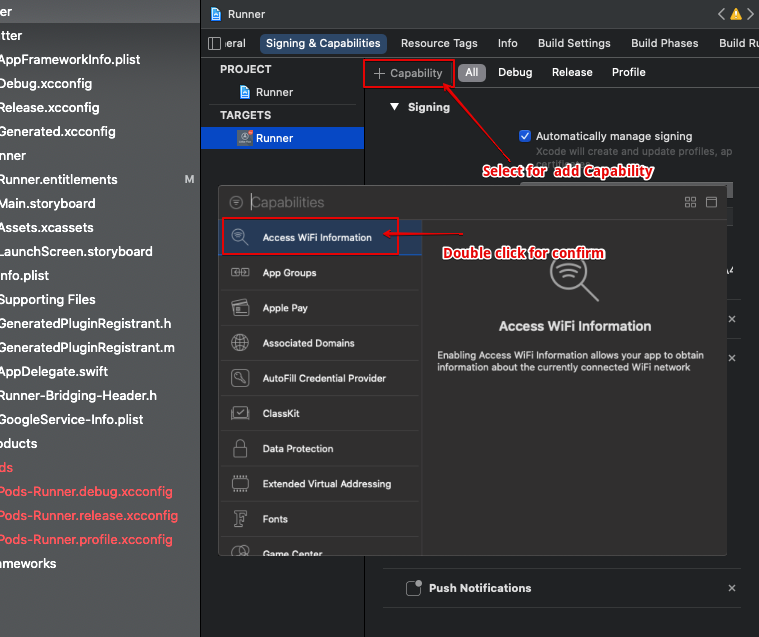
From the Xcode application select tab Capability, in there you can double click for open the modal add new Capability and select Access Wifi Information.
Navigate to your project folder and run the command
flutter clean
flutter run
Android Settings
Access the URL https://console.firebase.google.com. Select Project Overview → Android
Define information
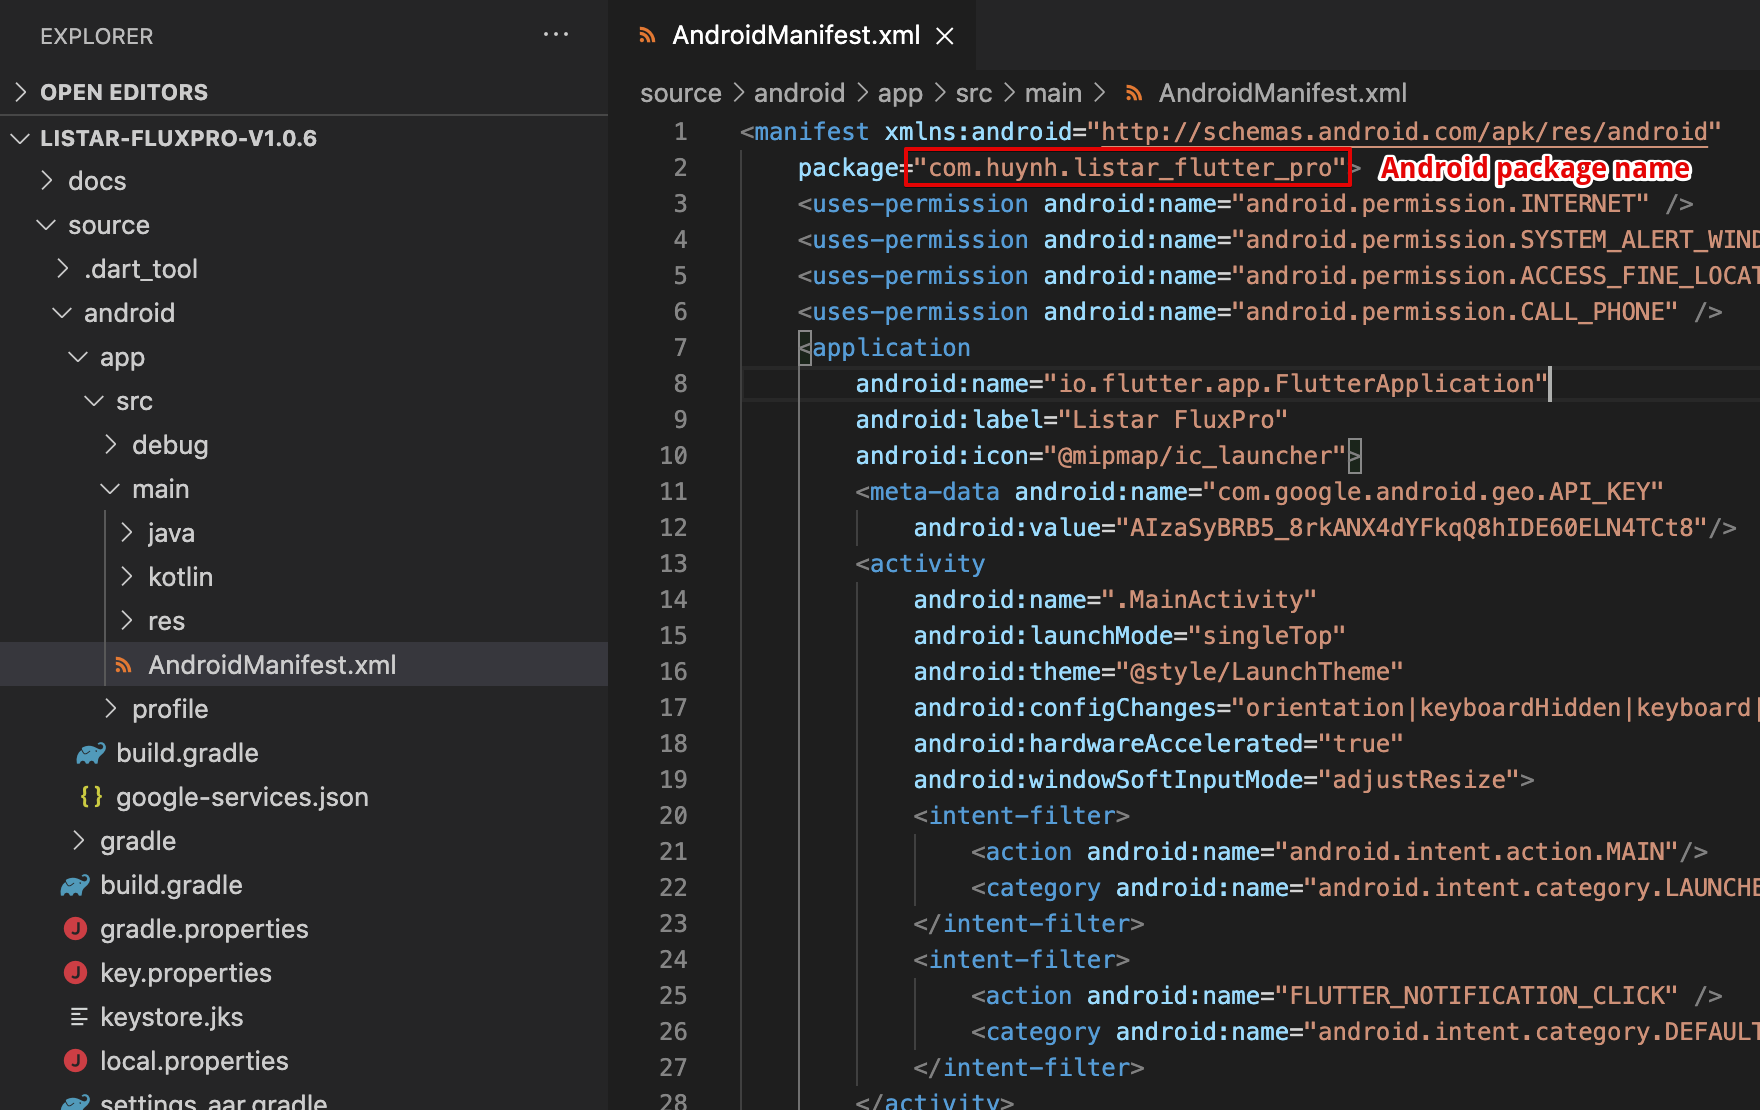
- Android package name:
./source/android/app/src/main/AndroidManifest.xml - App nickname: It is an optional value. This name will be used for presence in the Firebase console.
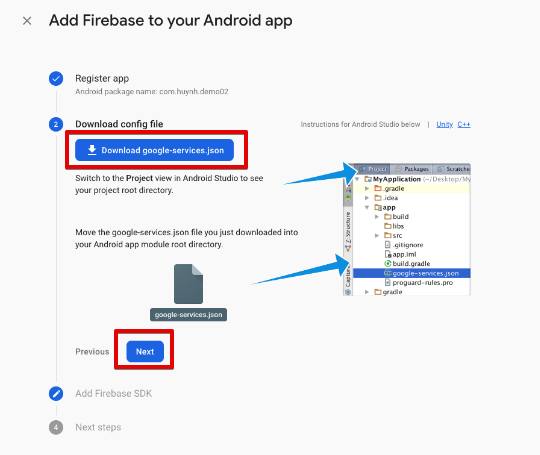
Click on the google-services.json button to download the file then copy it to the Android directory of your project ./source/android/app/google-services.json . If the google-services.json file already exists, delete the old file and copy the new file.
Download the config file & select the Next button to complete add Firebase to your Android app.

Run command
flutter clean
flutter run
Backend Settings
Apps using the deprecated FCM legacy APIs for HTTP and XMPP should migrate to the HTTP v1 API at the earliest opportunity. Sending messages (including upstream messages) with those APIs was deprecated on June 20, 2023, and shutdown begins on July 22, 2024.
This docs is updated from 08-Sep-2024, since version plugin Listar Directory Listing version 1.0.34
Project ID
Access Firebase project https://console.firebase.google.com/ & find your project ID
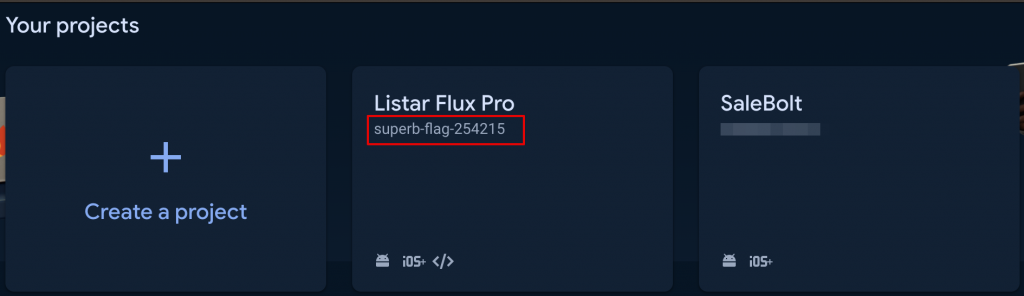
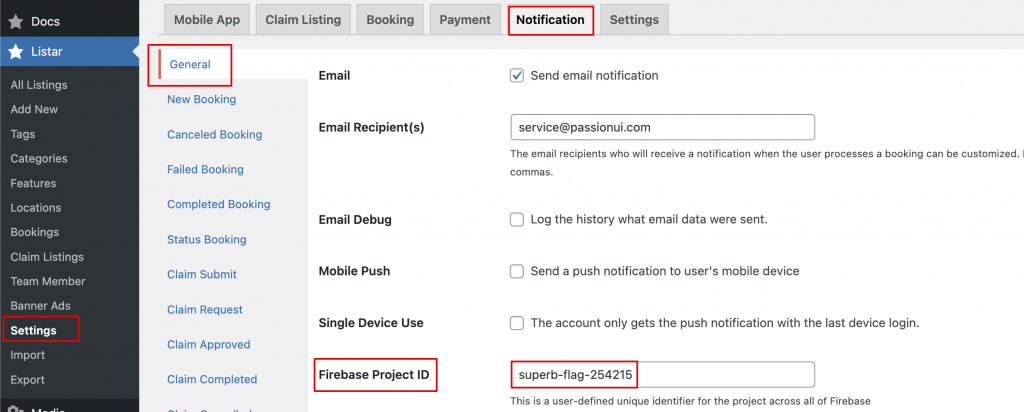
Settings → Notification → General → Firebase Project ID
Firebase Private Key
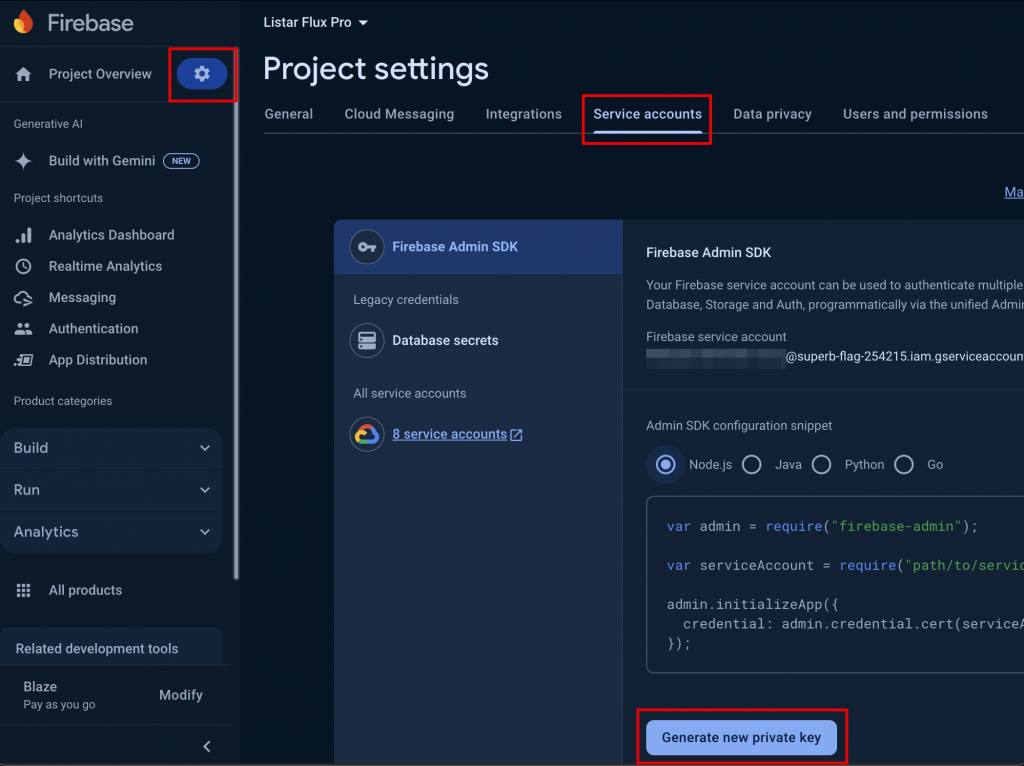
Access Firebase project https://console.firebase.google.com/
- In the Firebase console, open Settings → Service Accounts.
- Click Generate new private Key.
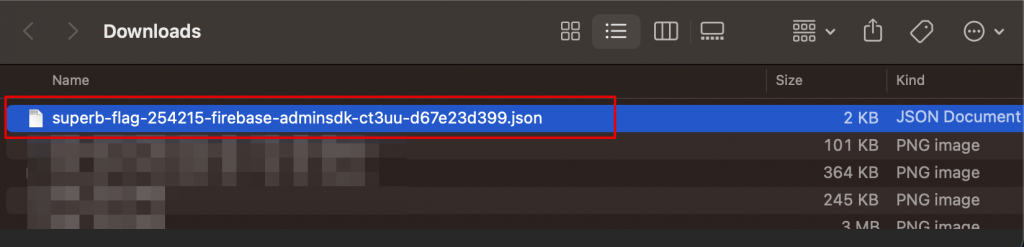
- Download the private key in JSON format file.
Upload the JSON config file to your hosting & settings → file wp-config.php
define( 'LISTAR_FIREBASE_HTTP_V1_KEY', ‘/path/to/your/firebase-private-key.json');
Uploaded on the server & set permission
chmod 0755 /path/to/your/firebase-private-key.json
chown nginx:nginx /path/to/your/firebase-private-key.json
The unix nginx that use for run php script. It could be nobody, www-data … base on your system defined.
Setting file wp-config.php
define( 'LISTAR_FIREBASE_HTTP_V1_KEY', '/path/to/your/firebase-private-key.json');
Install Google Client
The Google Firebase need to install the SDKs and client libraries for send the push message.
https://firebase.google.com/docs/firestore/client/libraries#php
Install Composer
Refer docs https://getcomposer.org/doc/00-intro.md
Verify the composer has installed
composer --version
Composer version 2.1.8
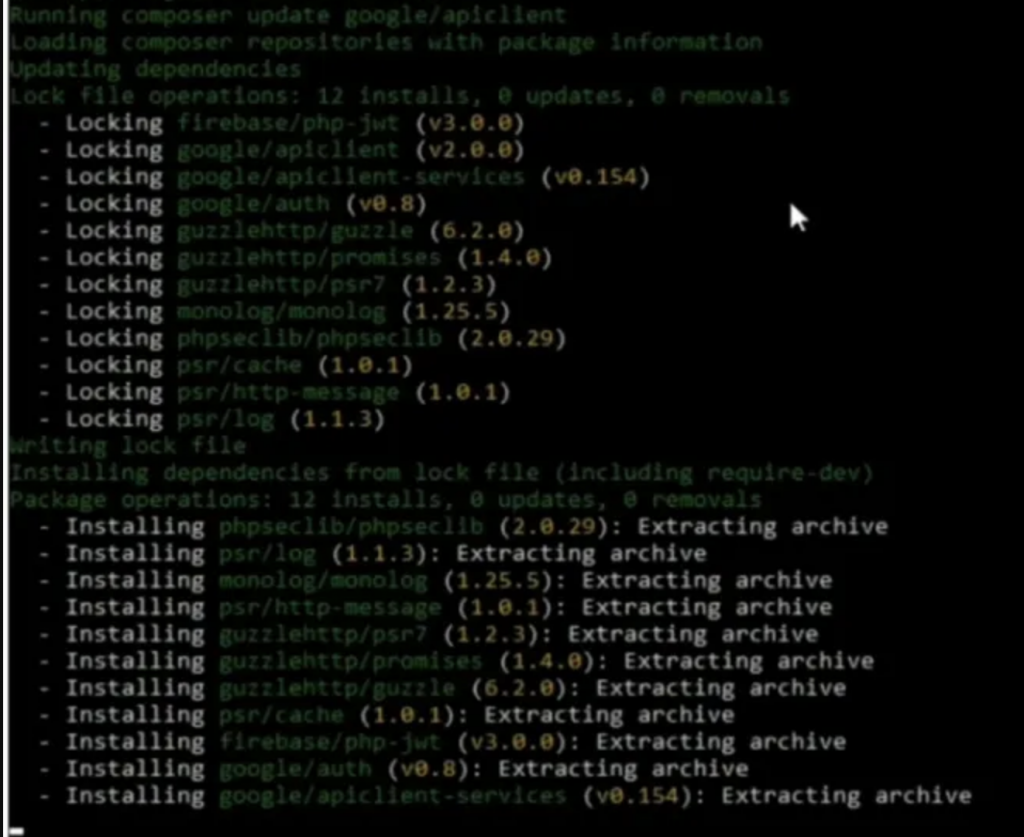
Install Google Client
cd /path/to/your/site/wp-content/plugins/listar-directory-listing
composer update